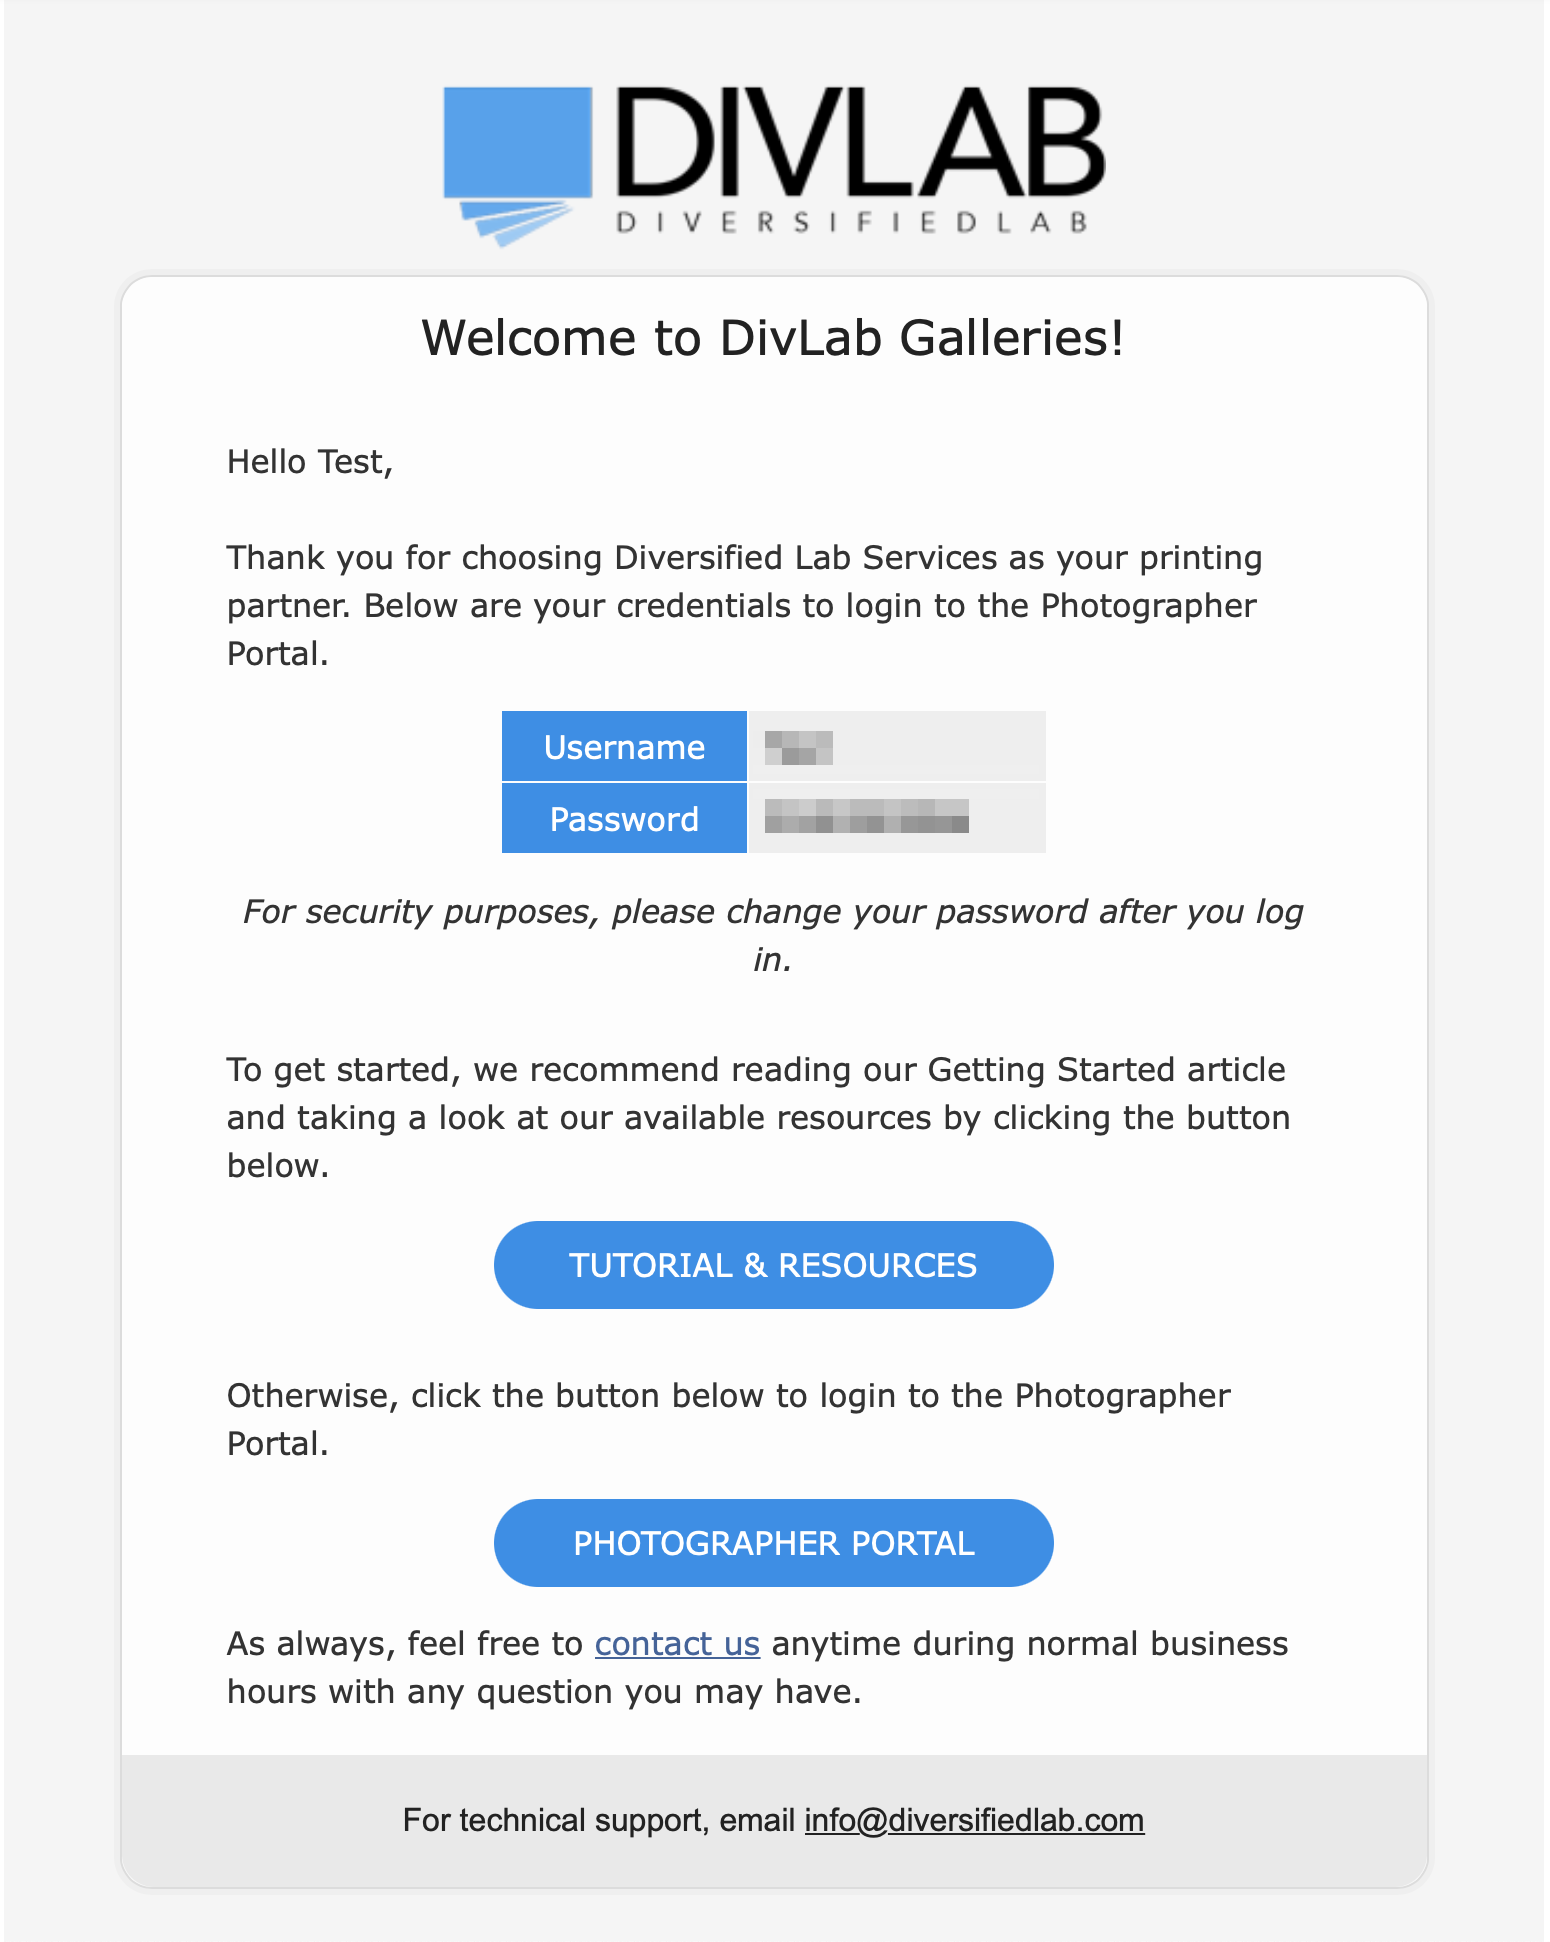
First, find your welcome email from info@diversifiedlab.com. This will contain your Username and password to log in to the photographer portal.
Next, click the “photographer portal” button, or click here to be taken to the photographer portal. The photographer portal is where you will create galleries, pricing lists, contact lists, upload images, and more.
Enter your credentials into the photographer portal, and click “Sign In”.
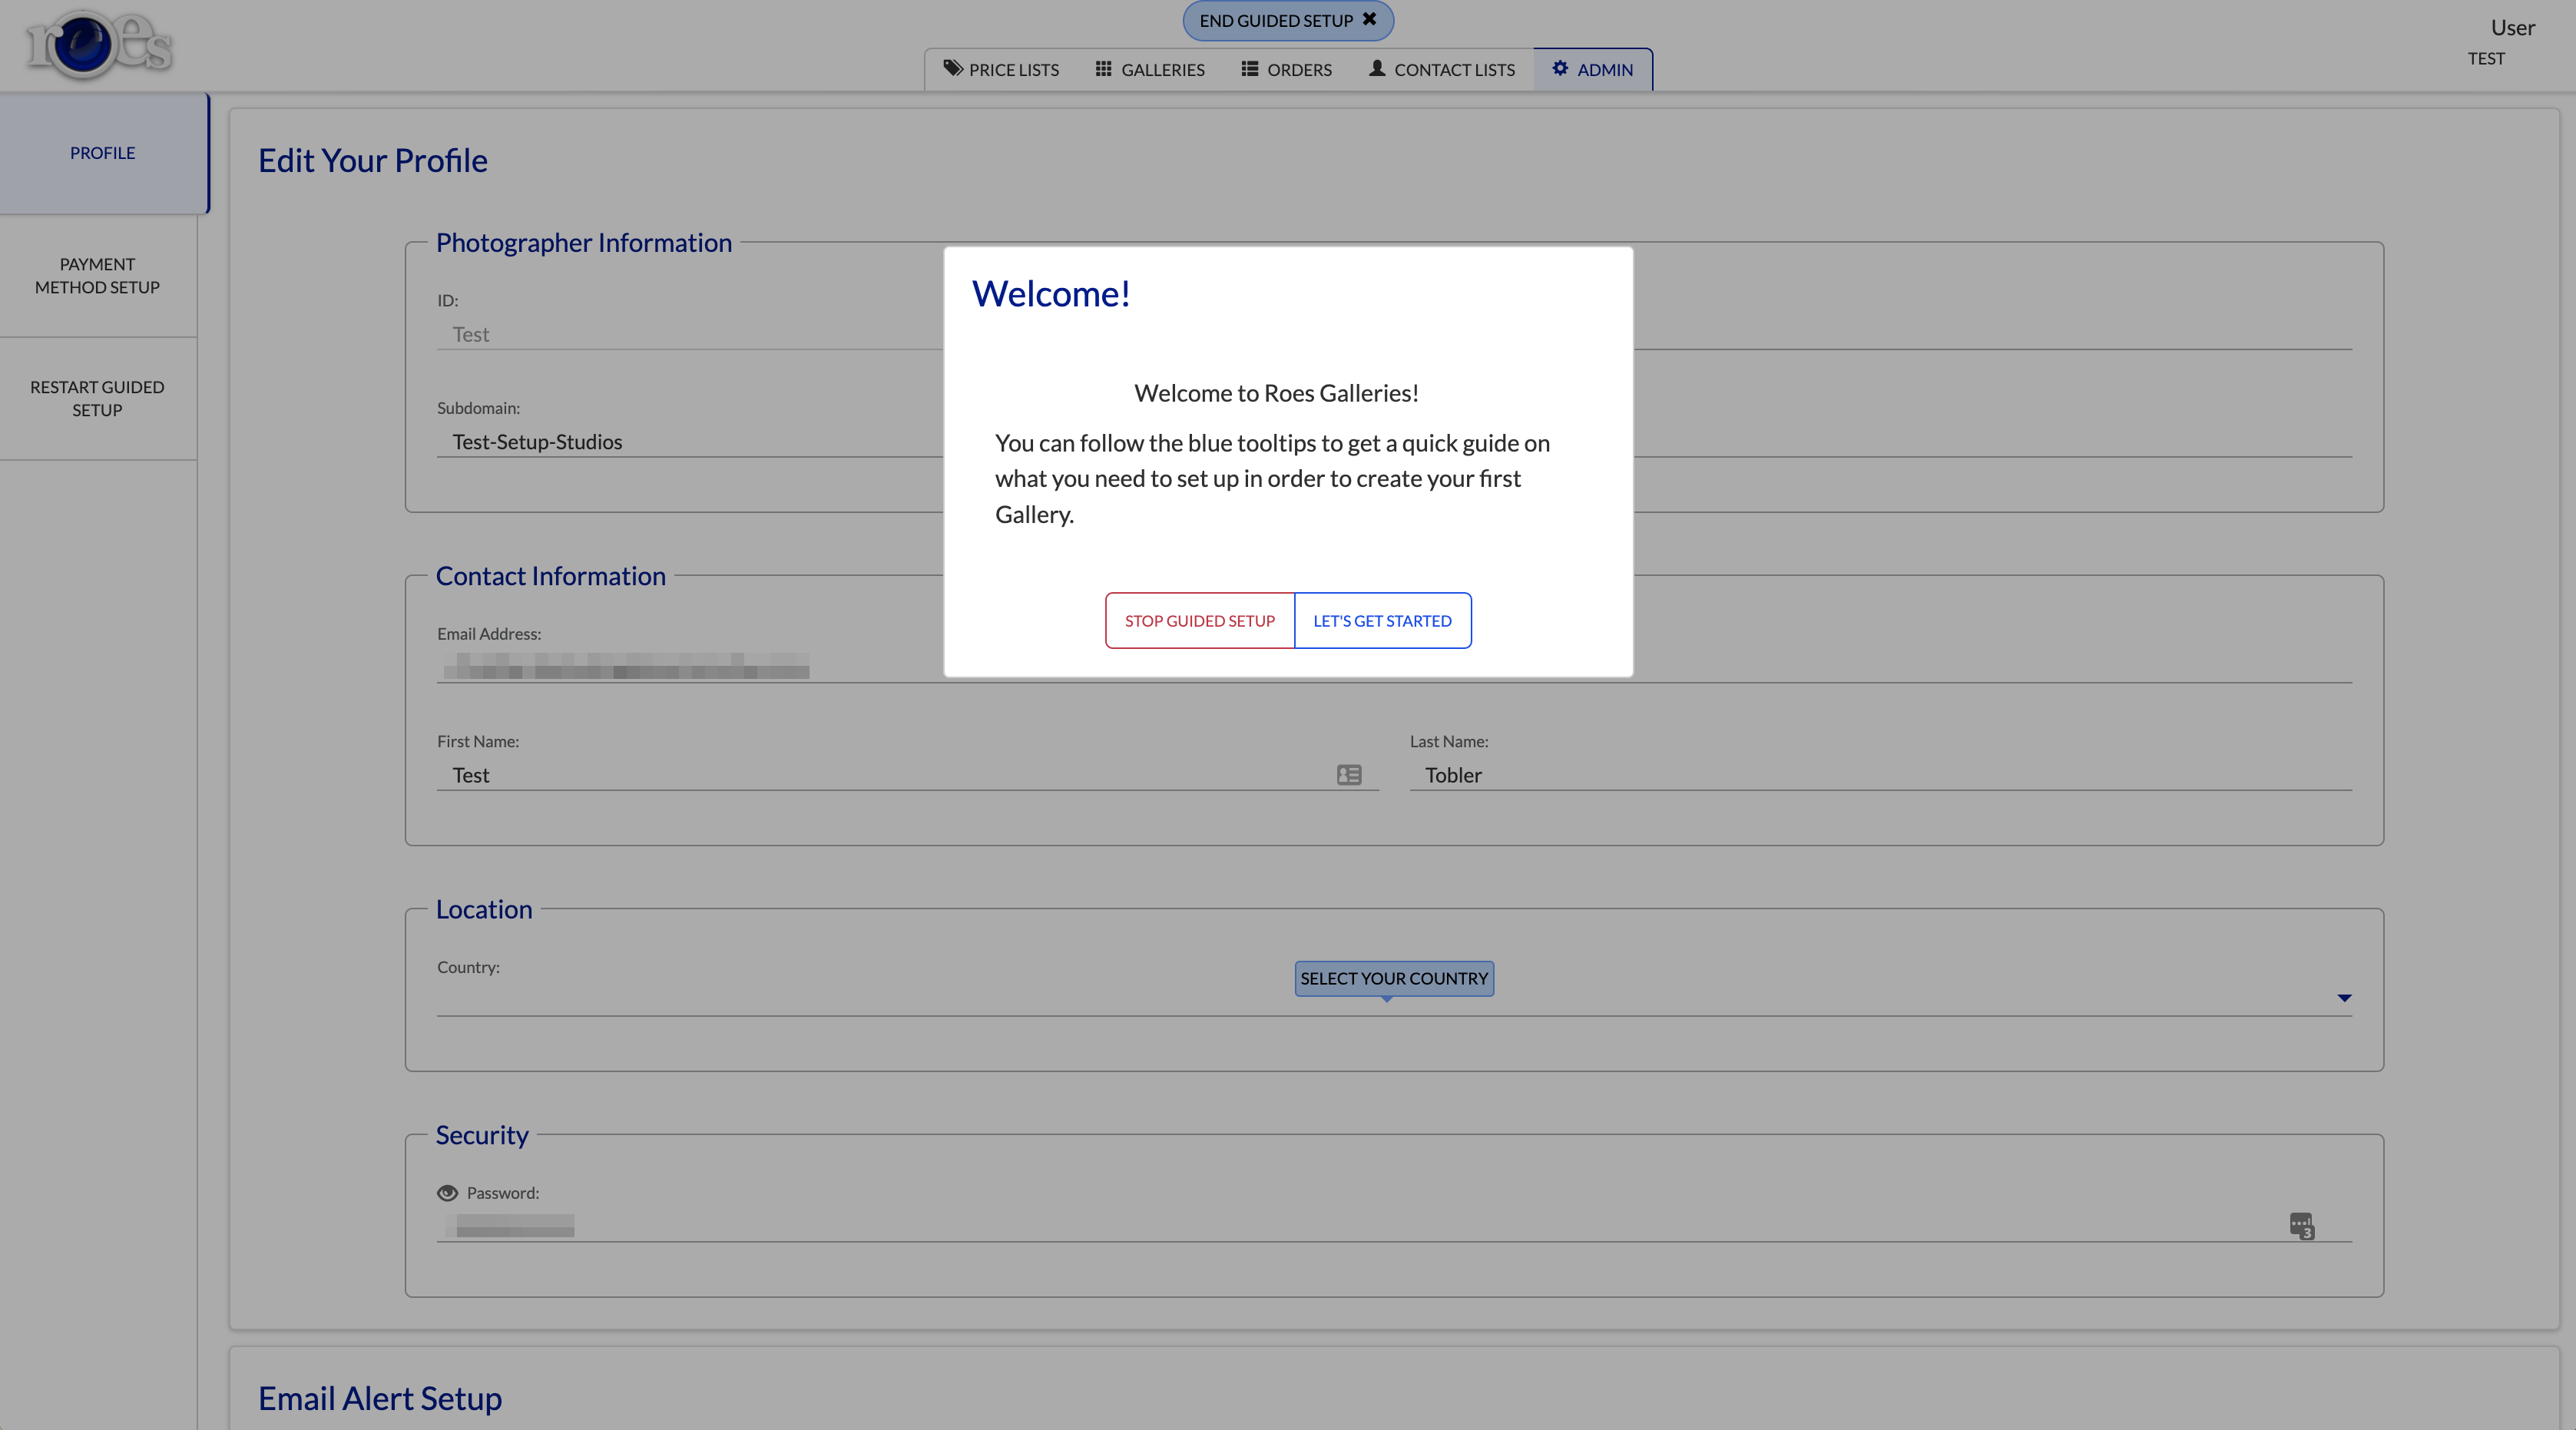
After you log in, you will see a popup that asks if you want to start the guided setup. We recommend using the guided setup, as this guide will follow the same steps as the guided setup.
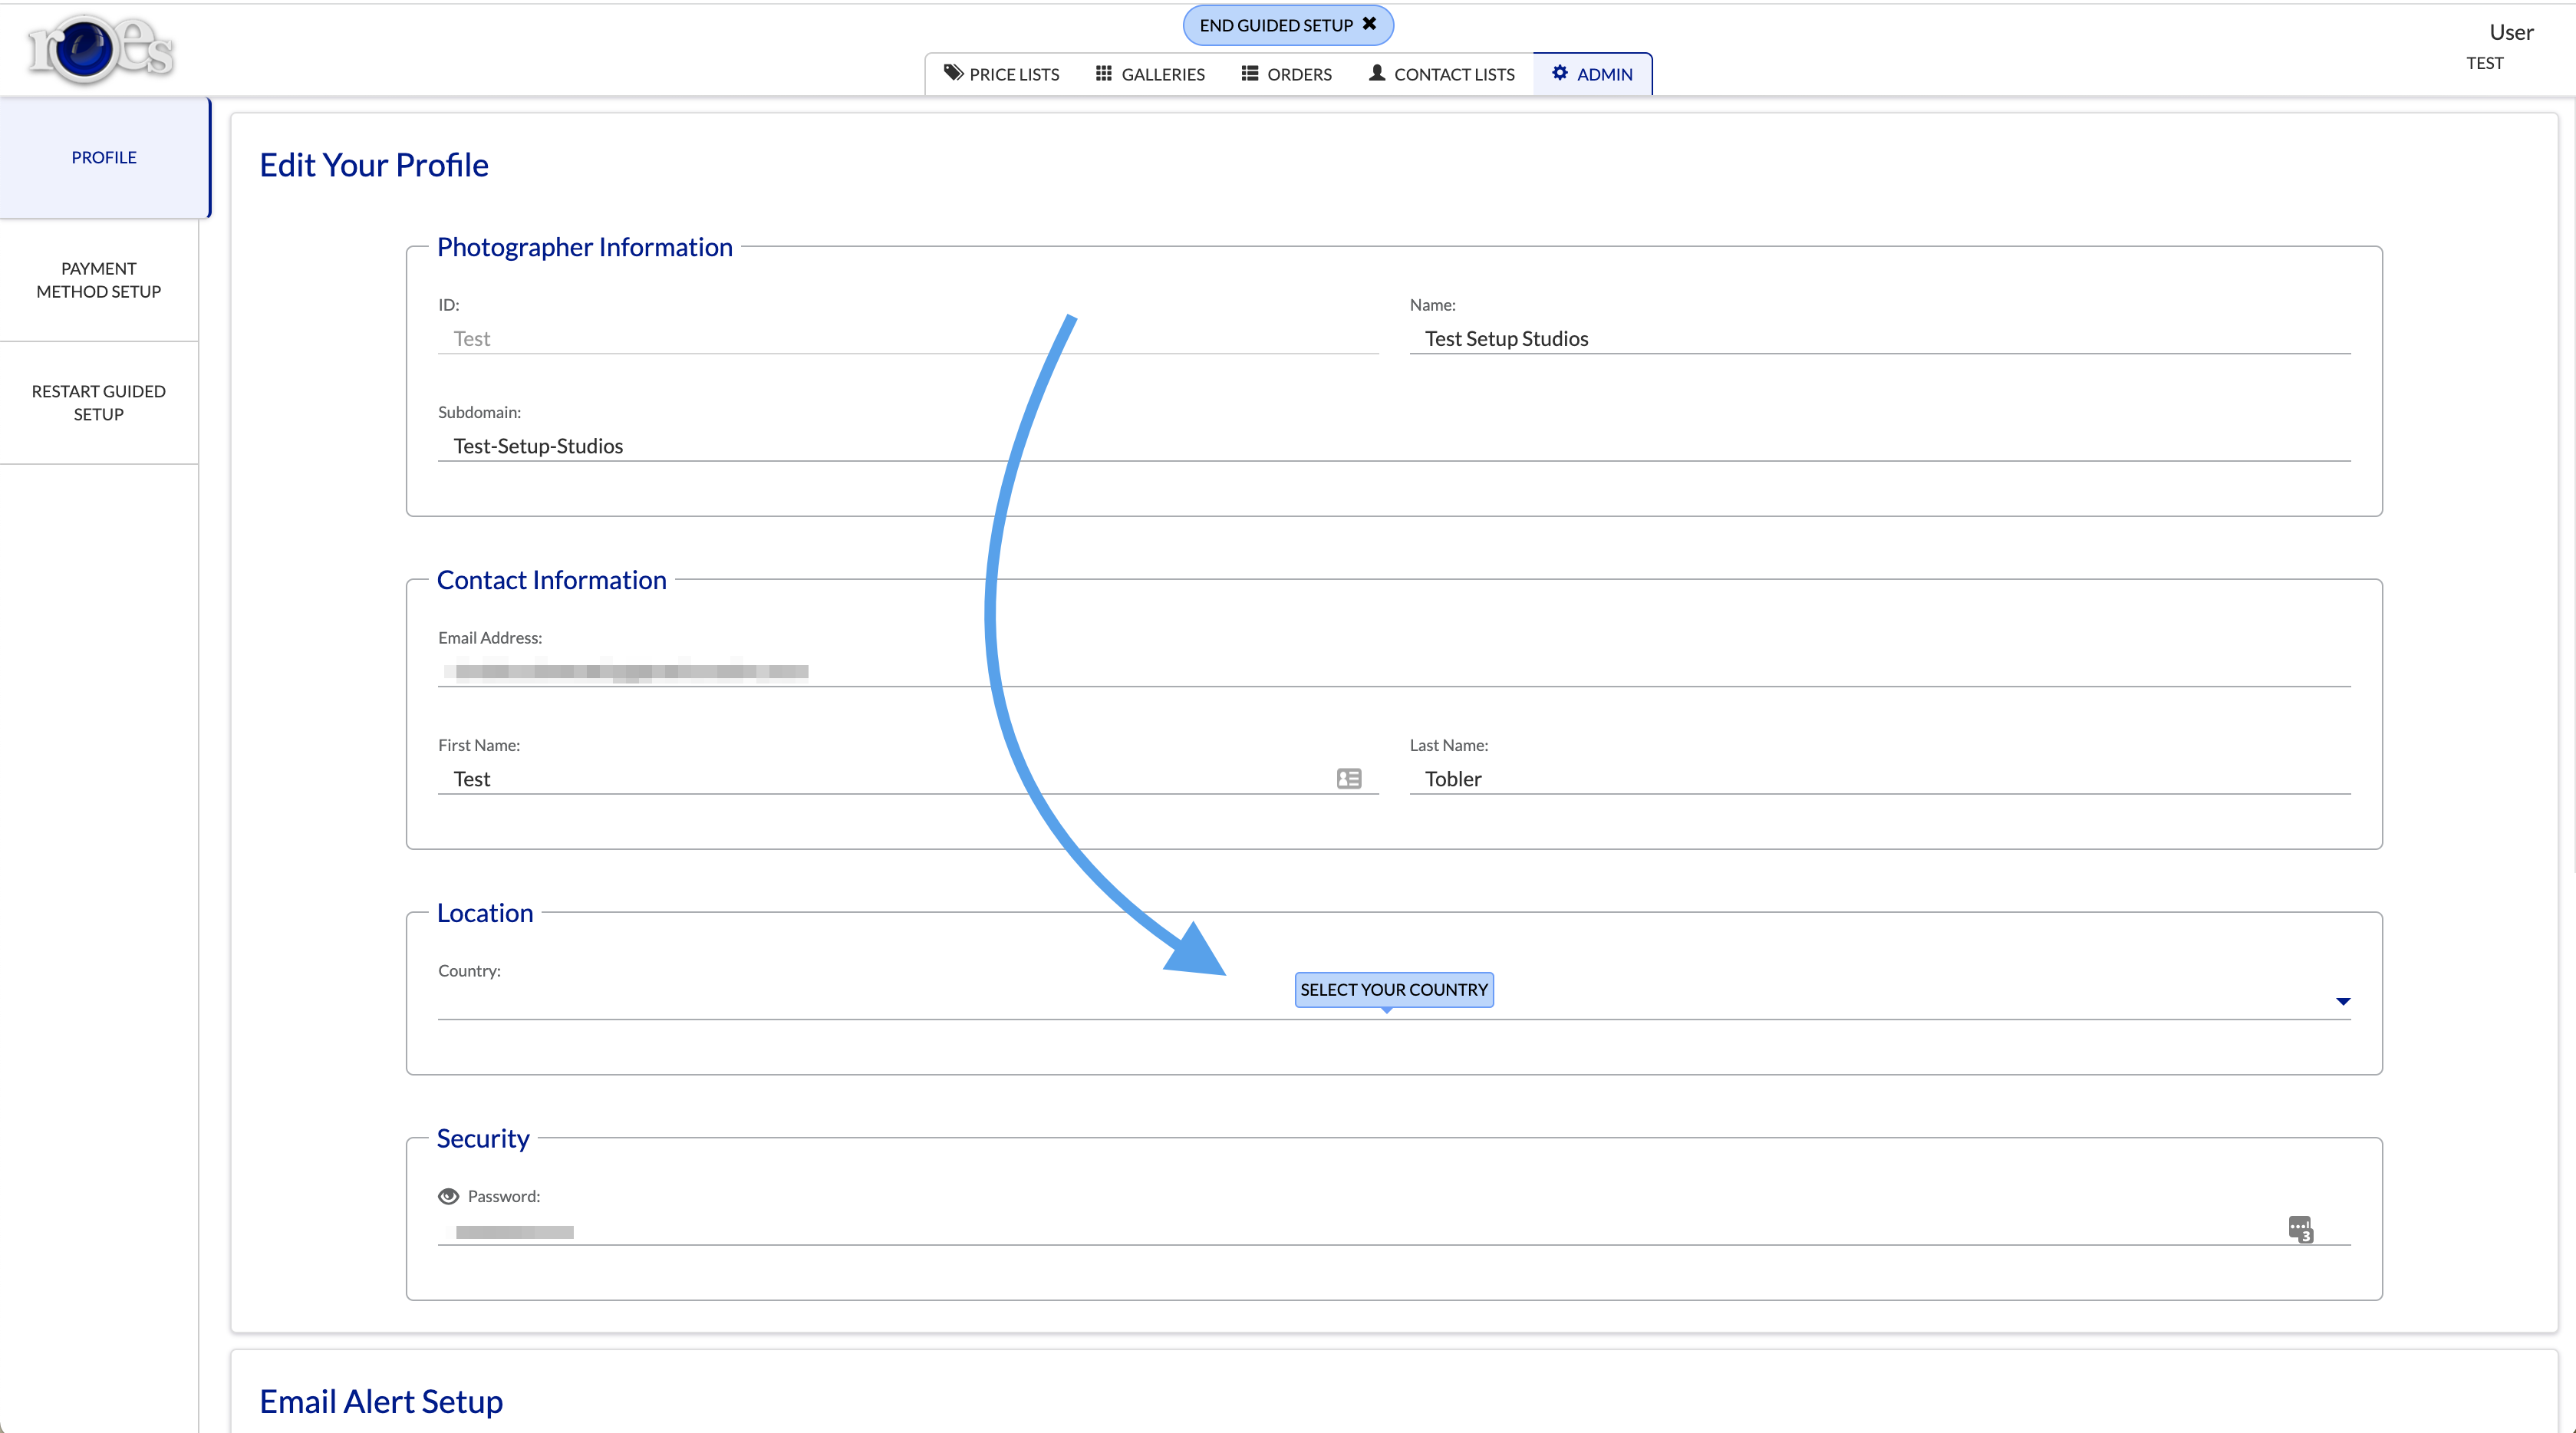
Select your country. Most likely, you will be selecting “United States”. After you select your country, fill in your zip code. The software will automatically fill in the rest of the location details for you.
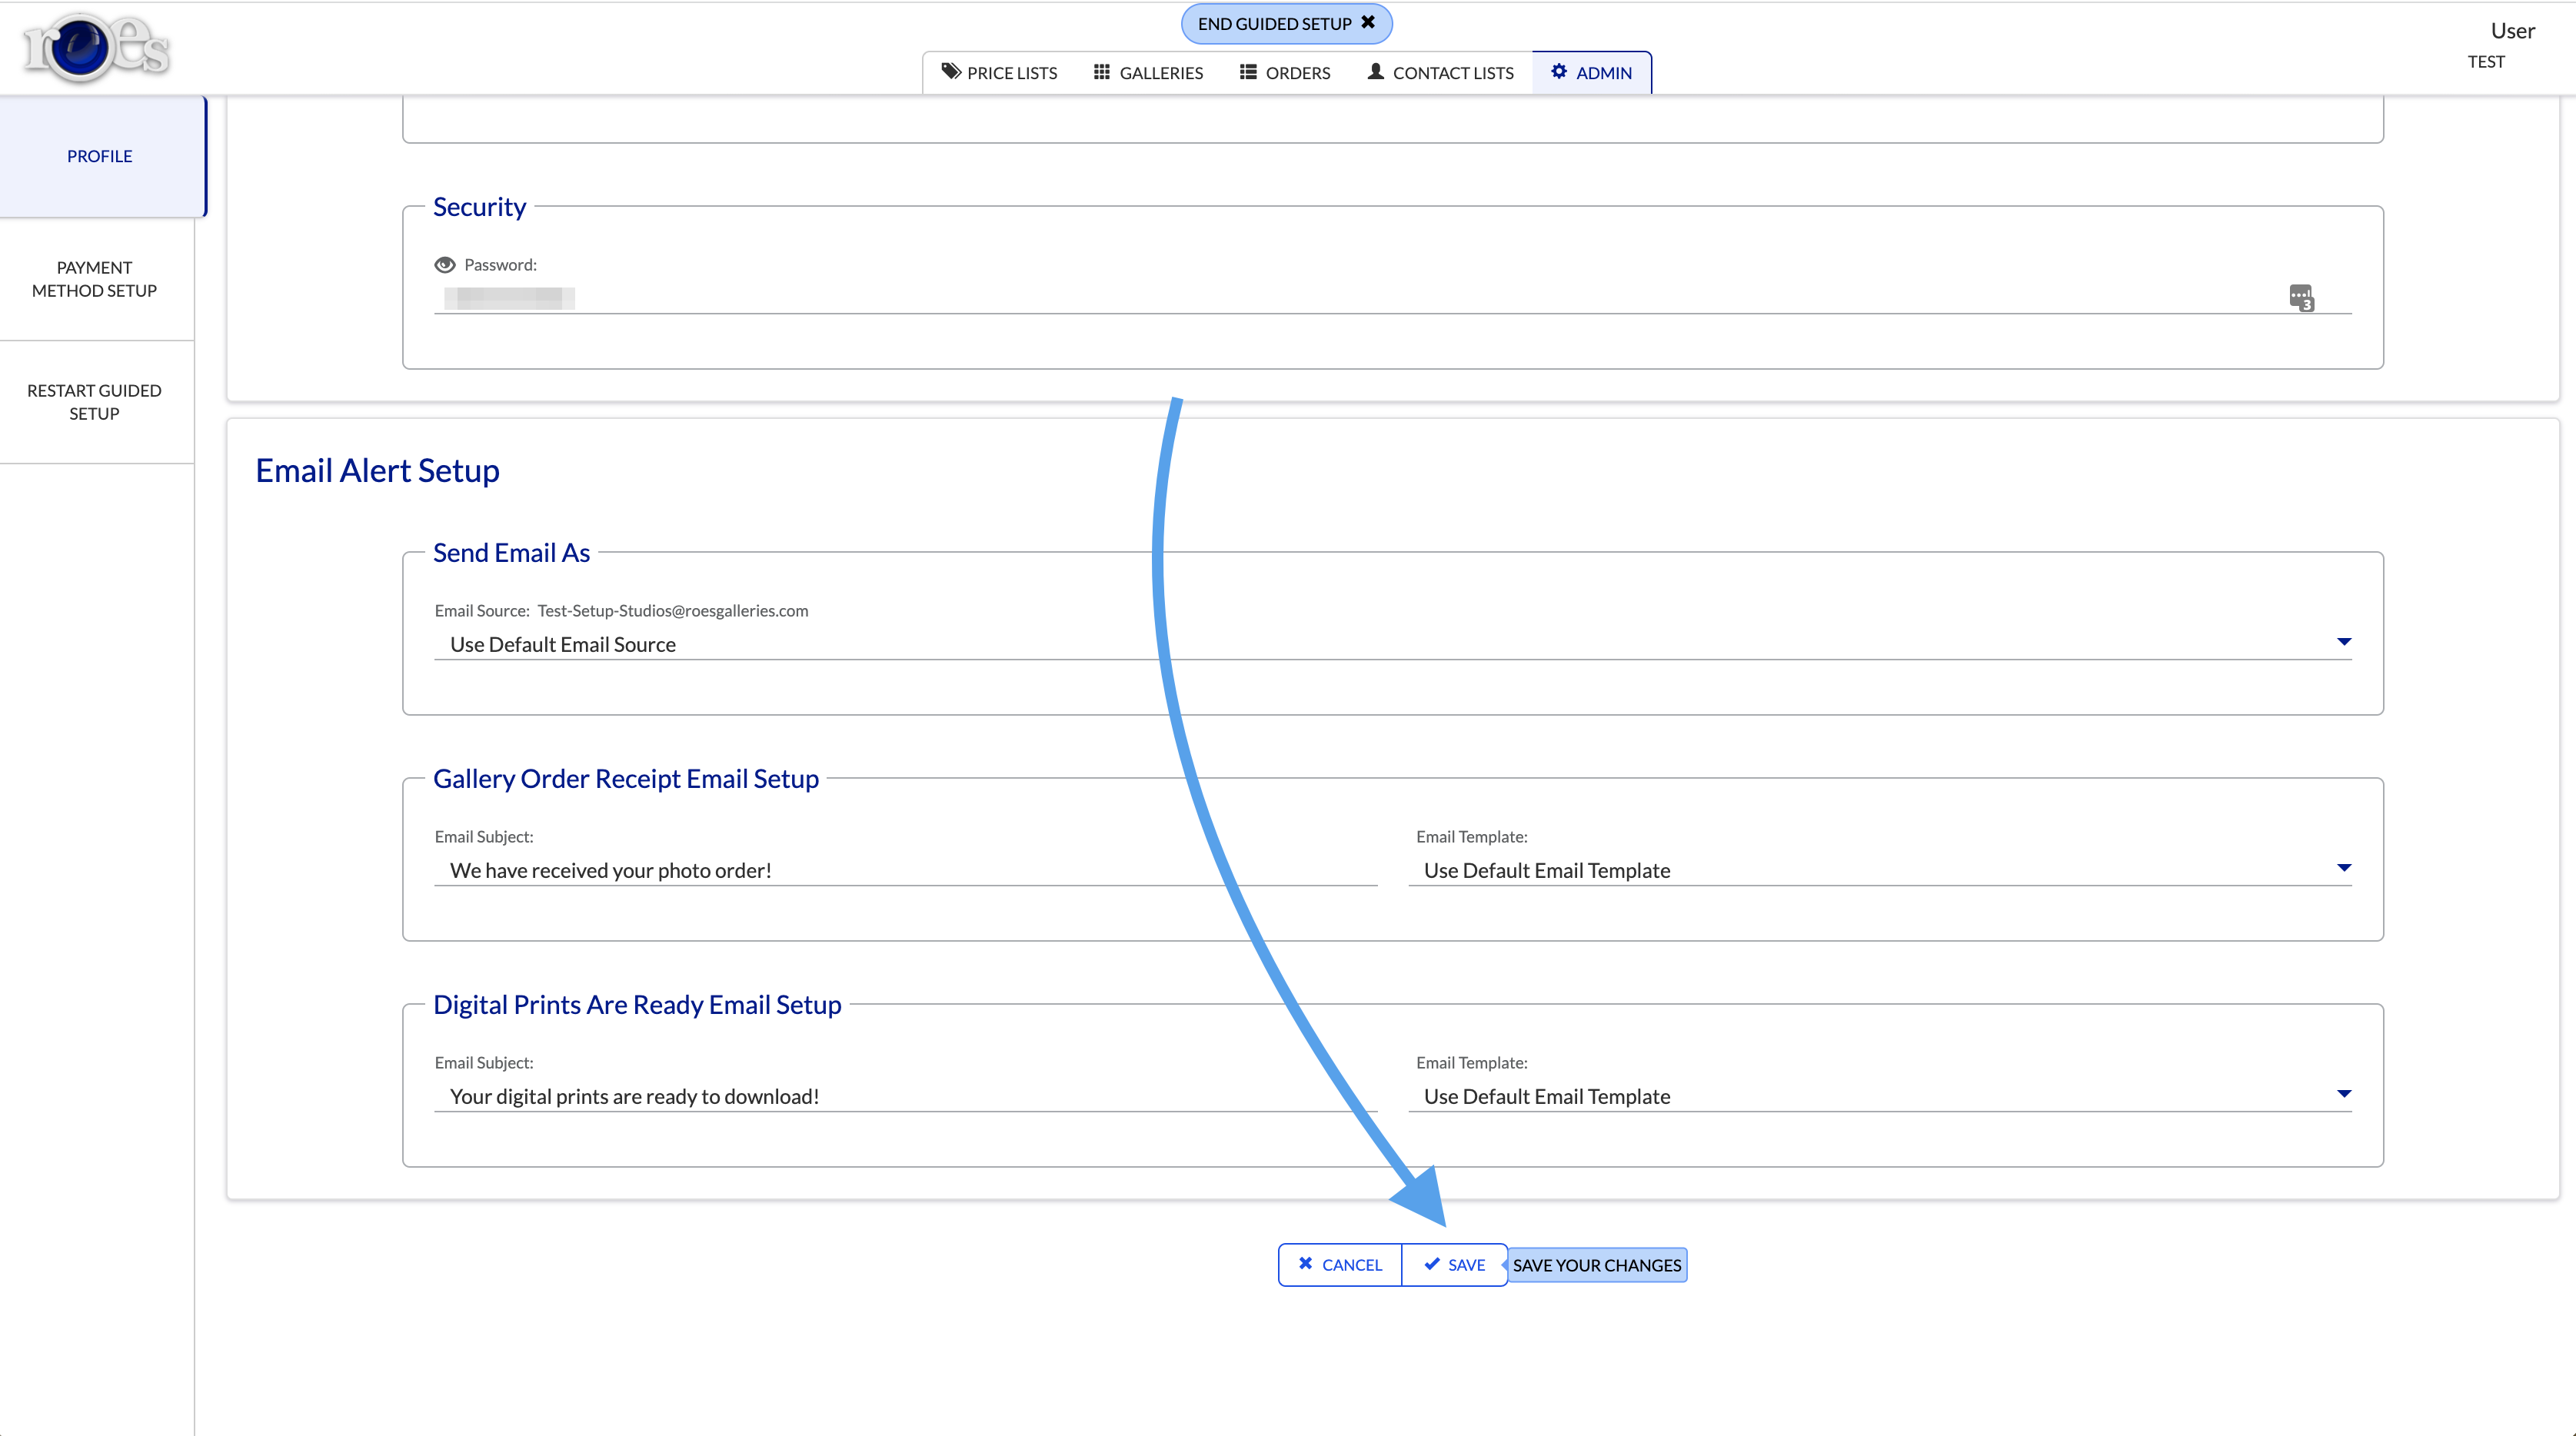
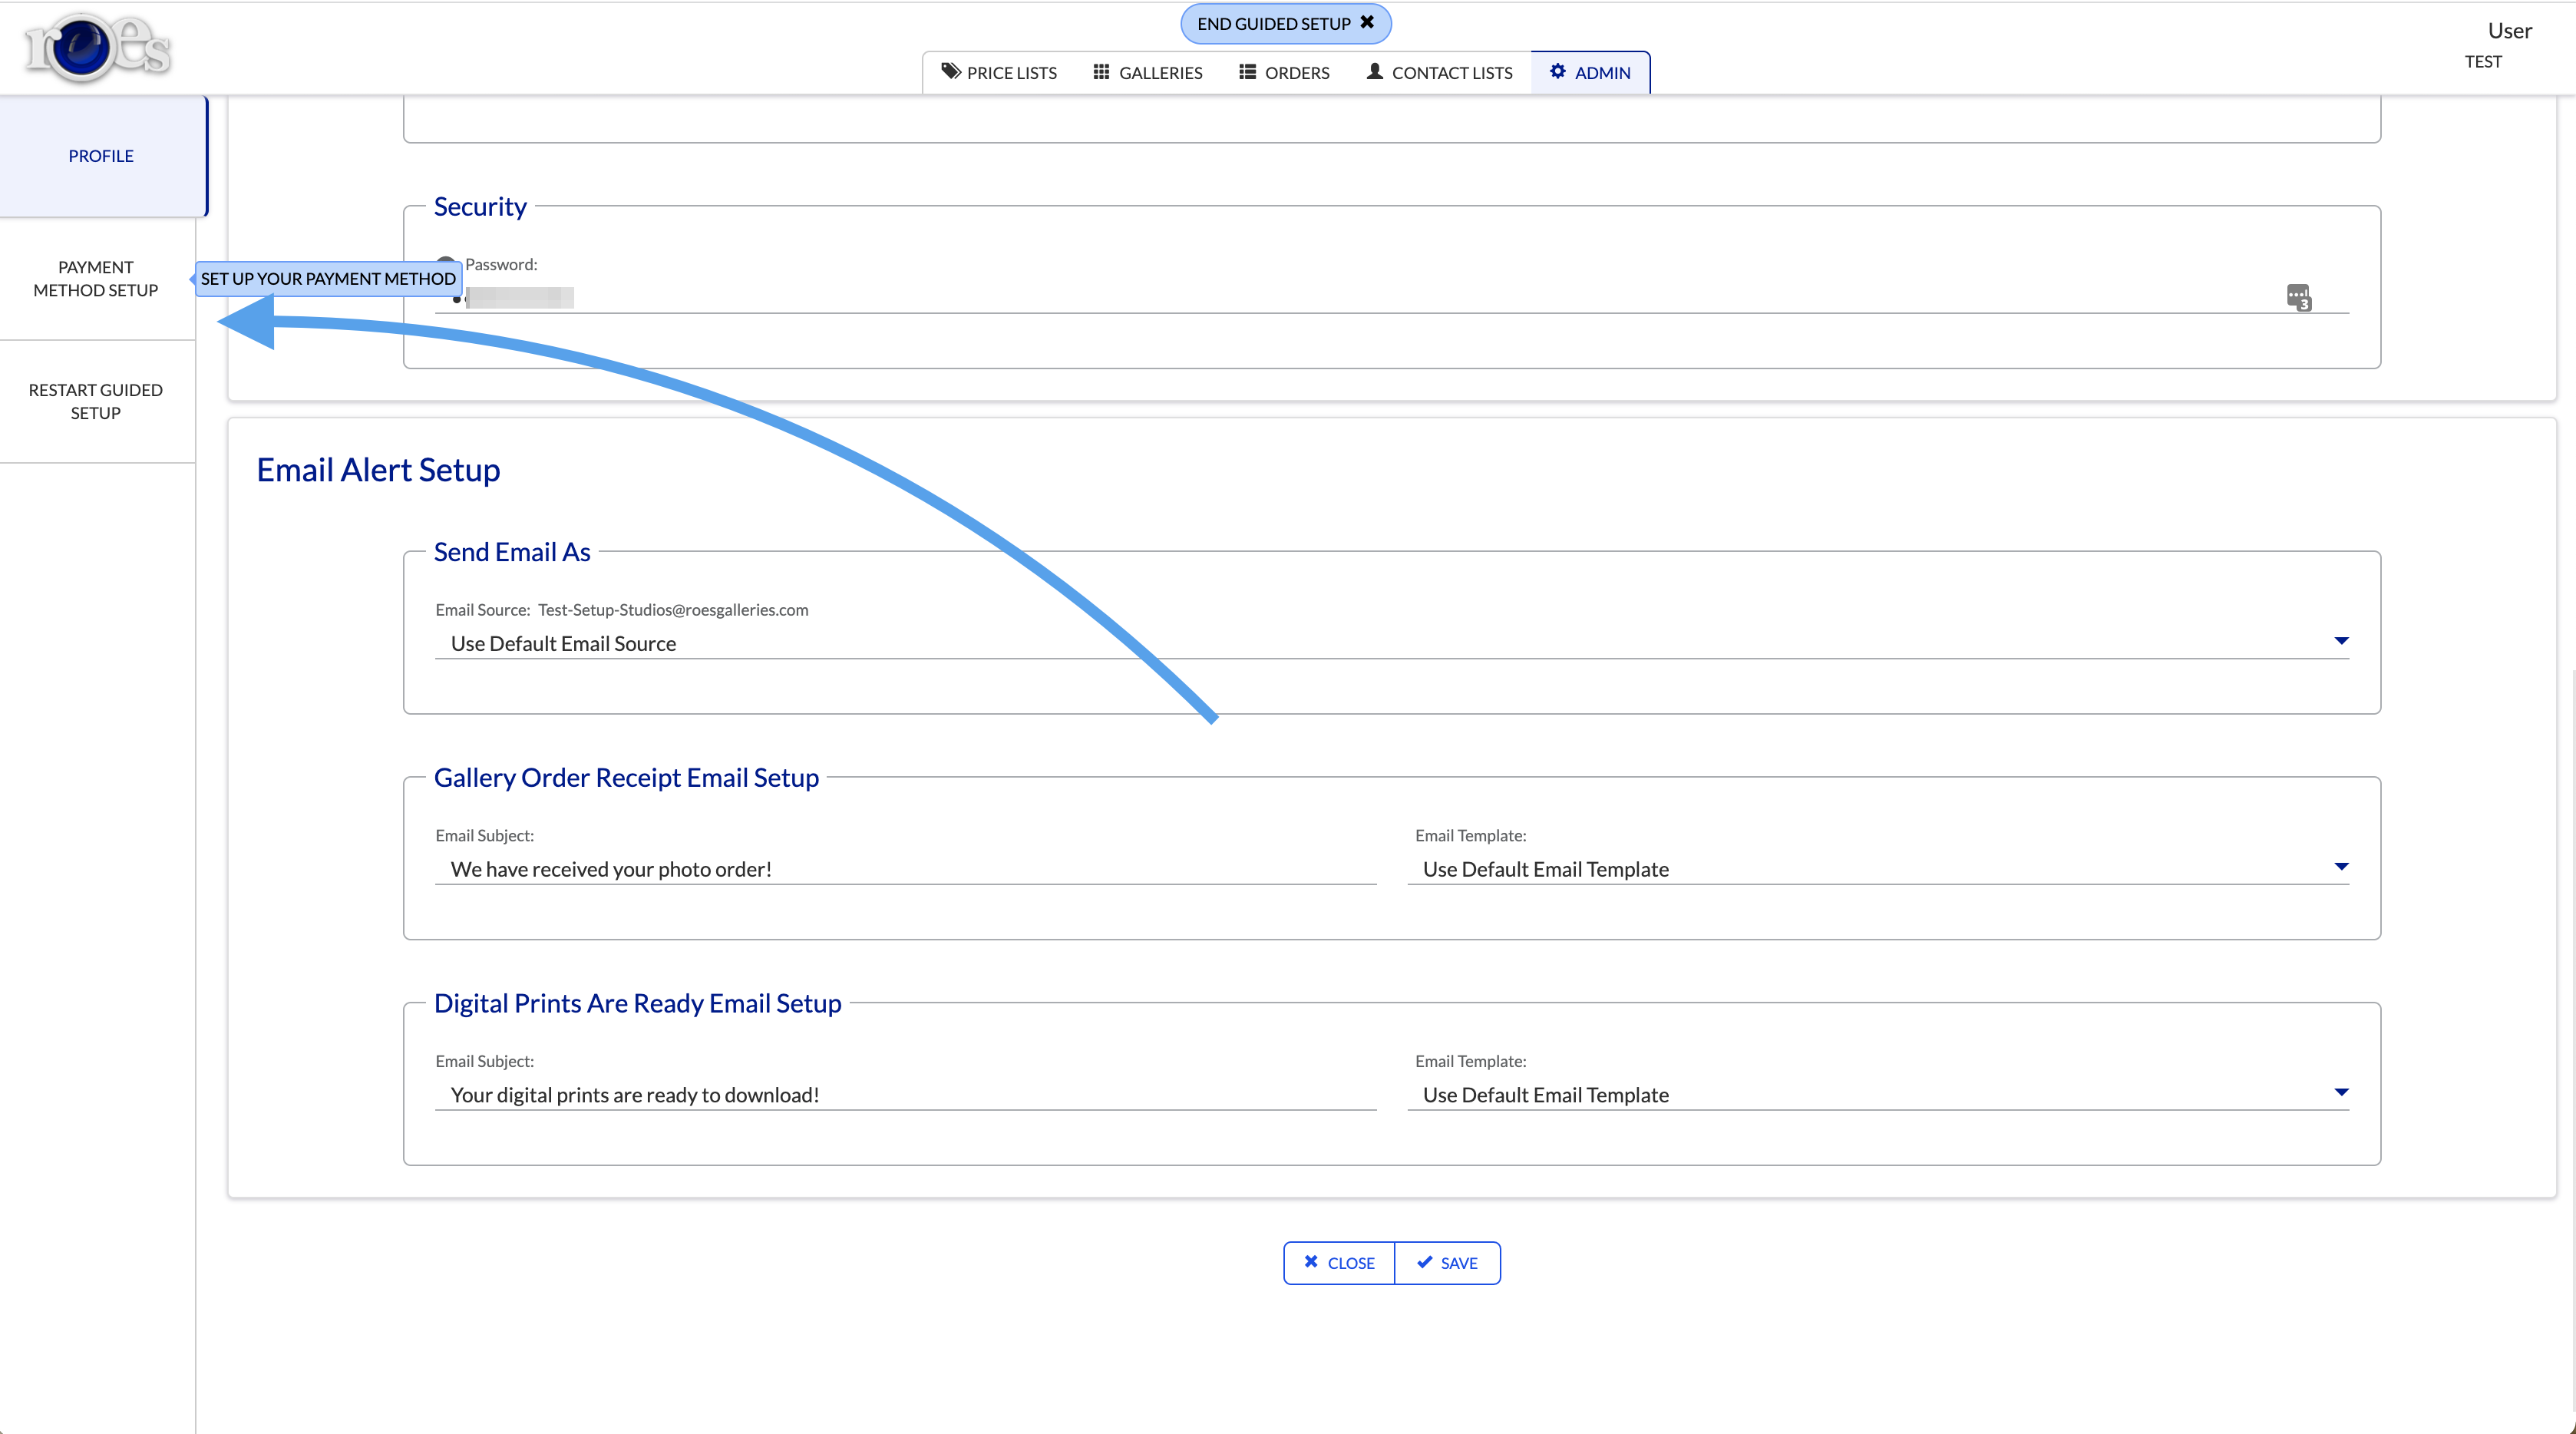
Next, scroll down and click “Save” to save your changes.
Then, click the “Payment Method Setup” tab on the left side of the screen.
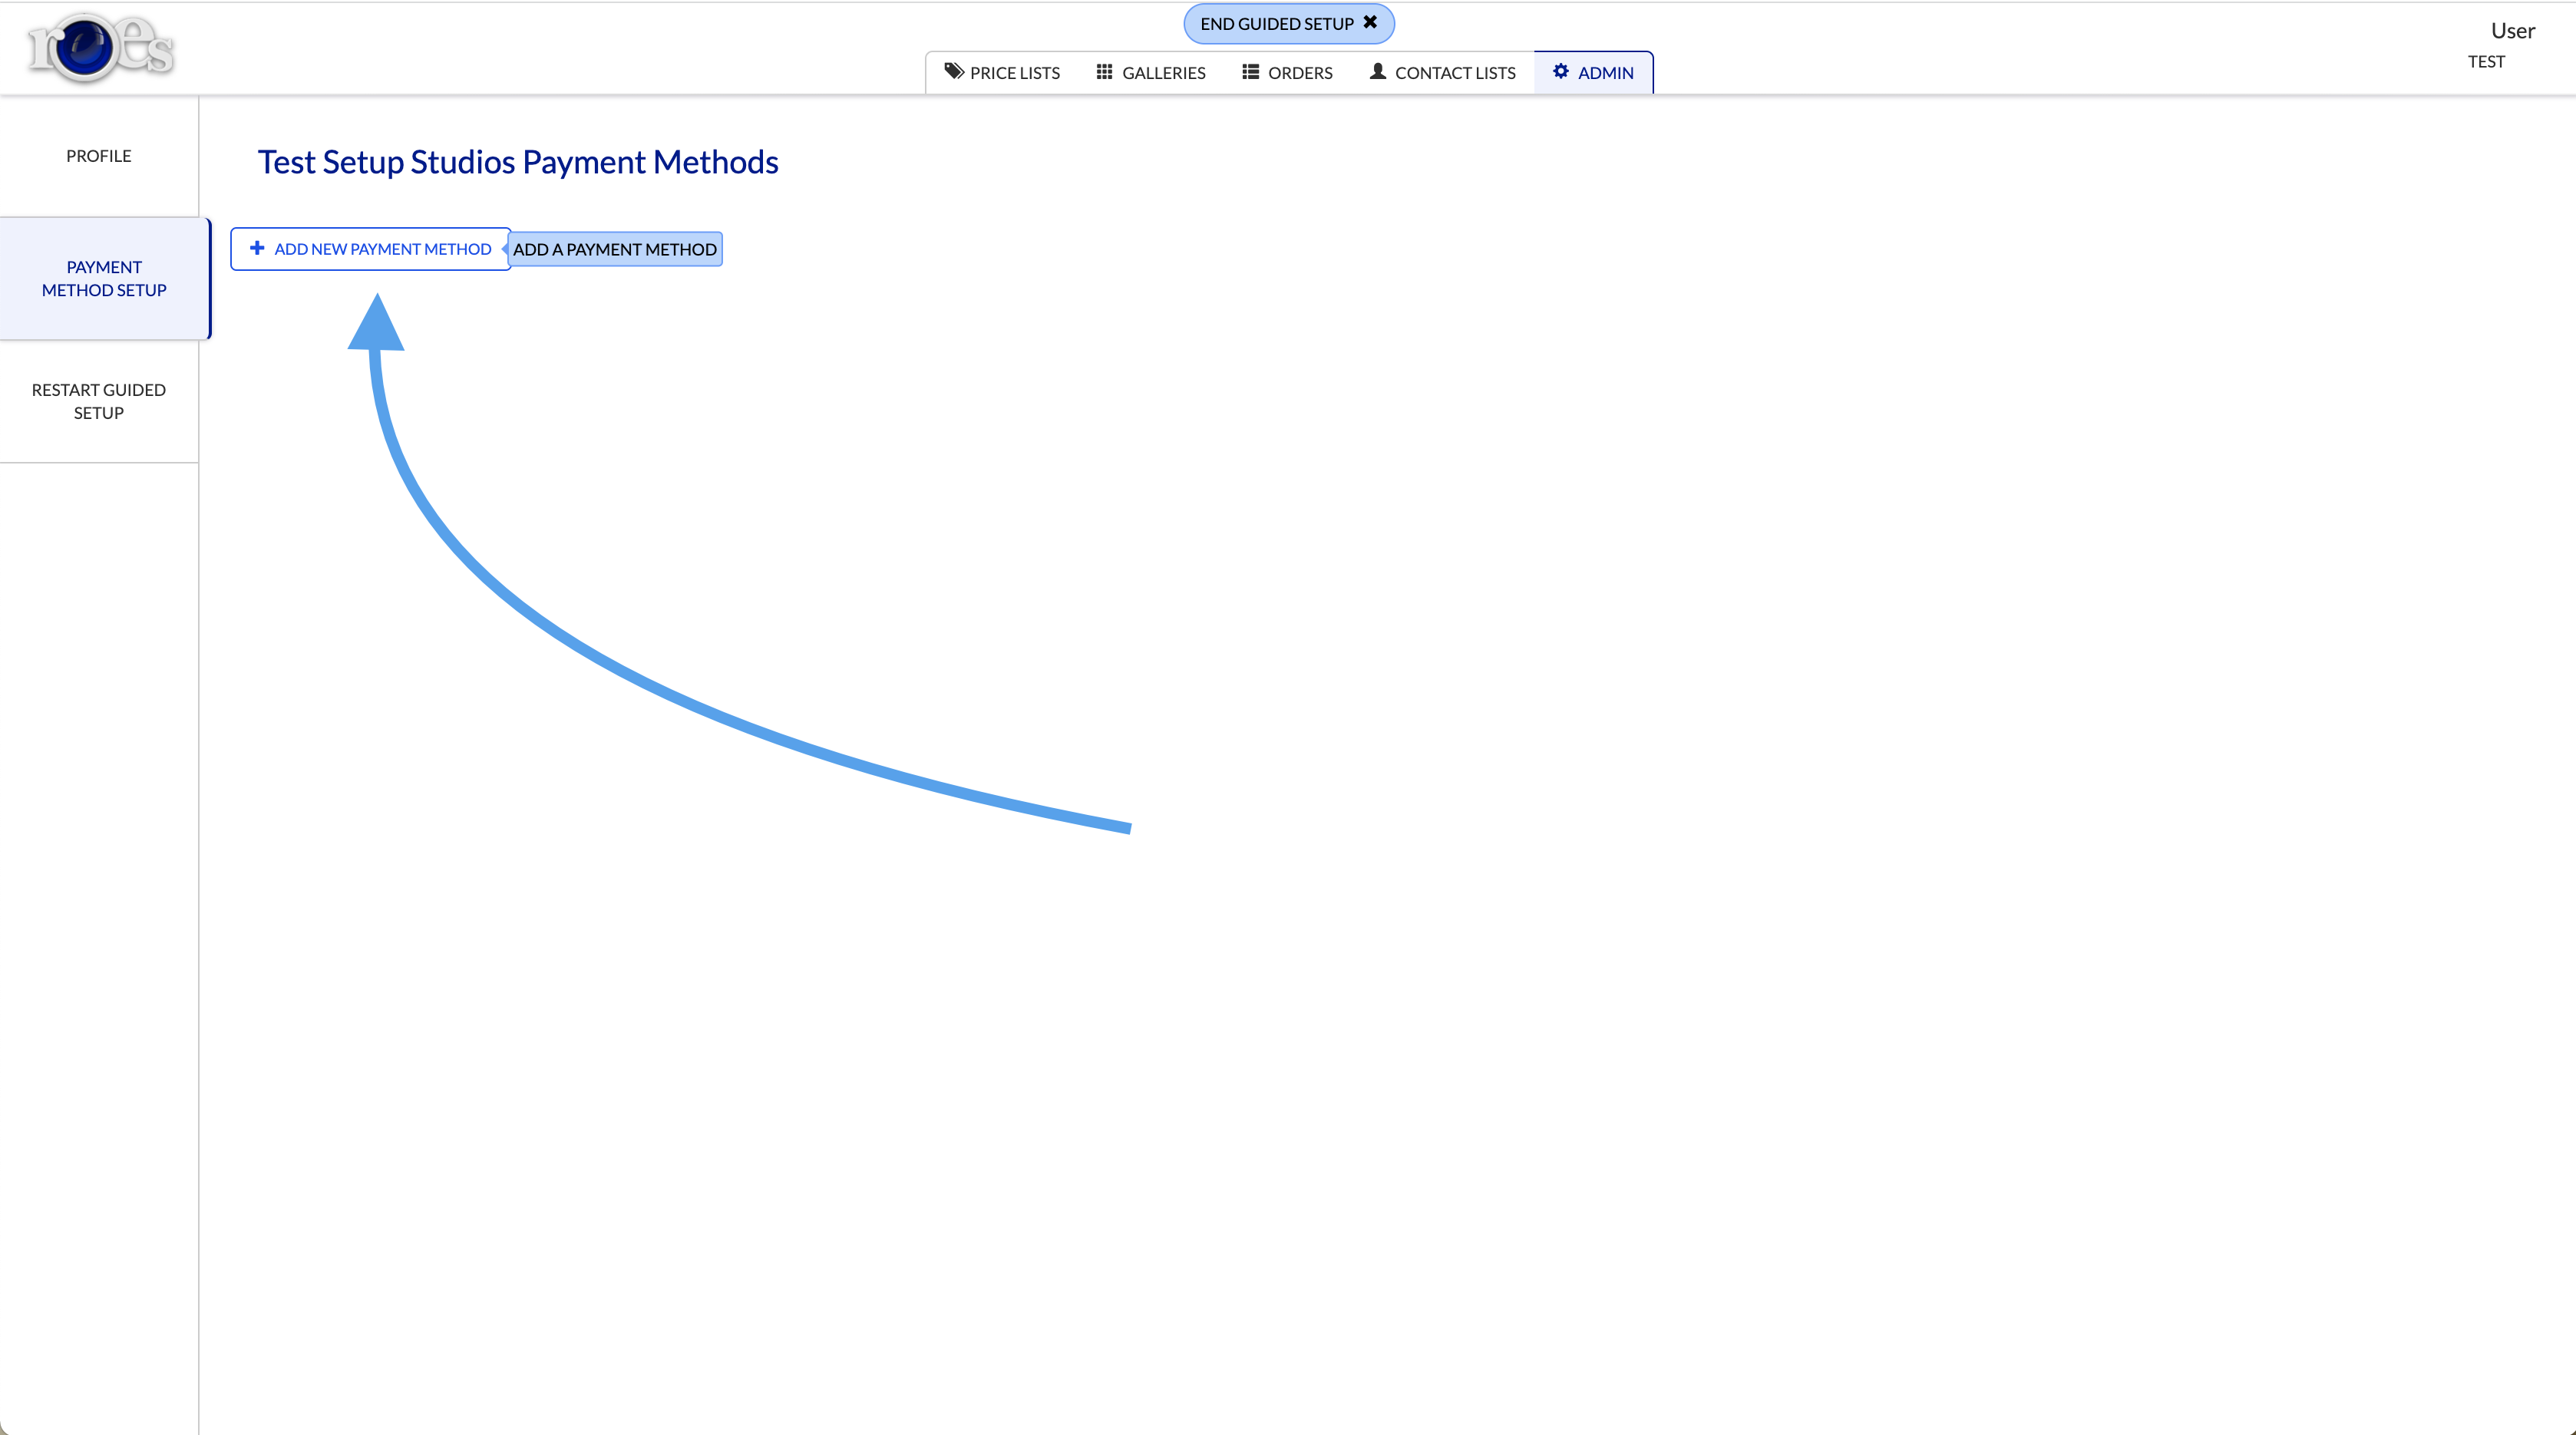
Here, you will set up a payment method to receive payments when a customer submits an order. Let’s start by clicking the “Add New Payment Method”
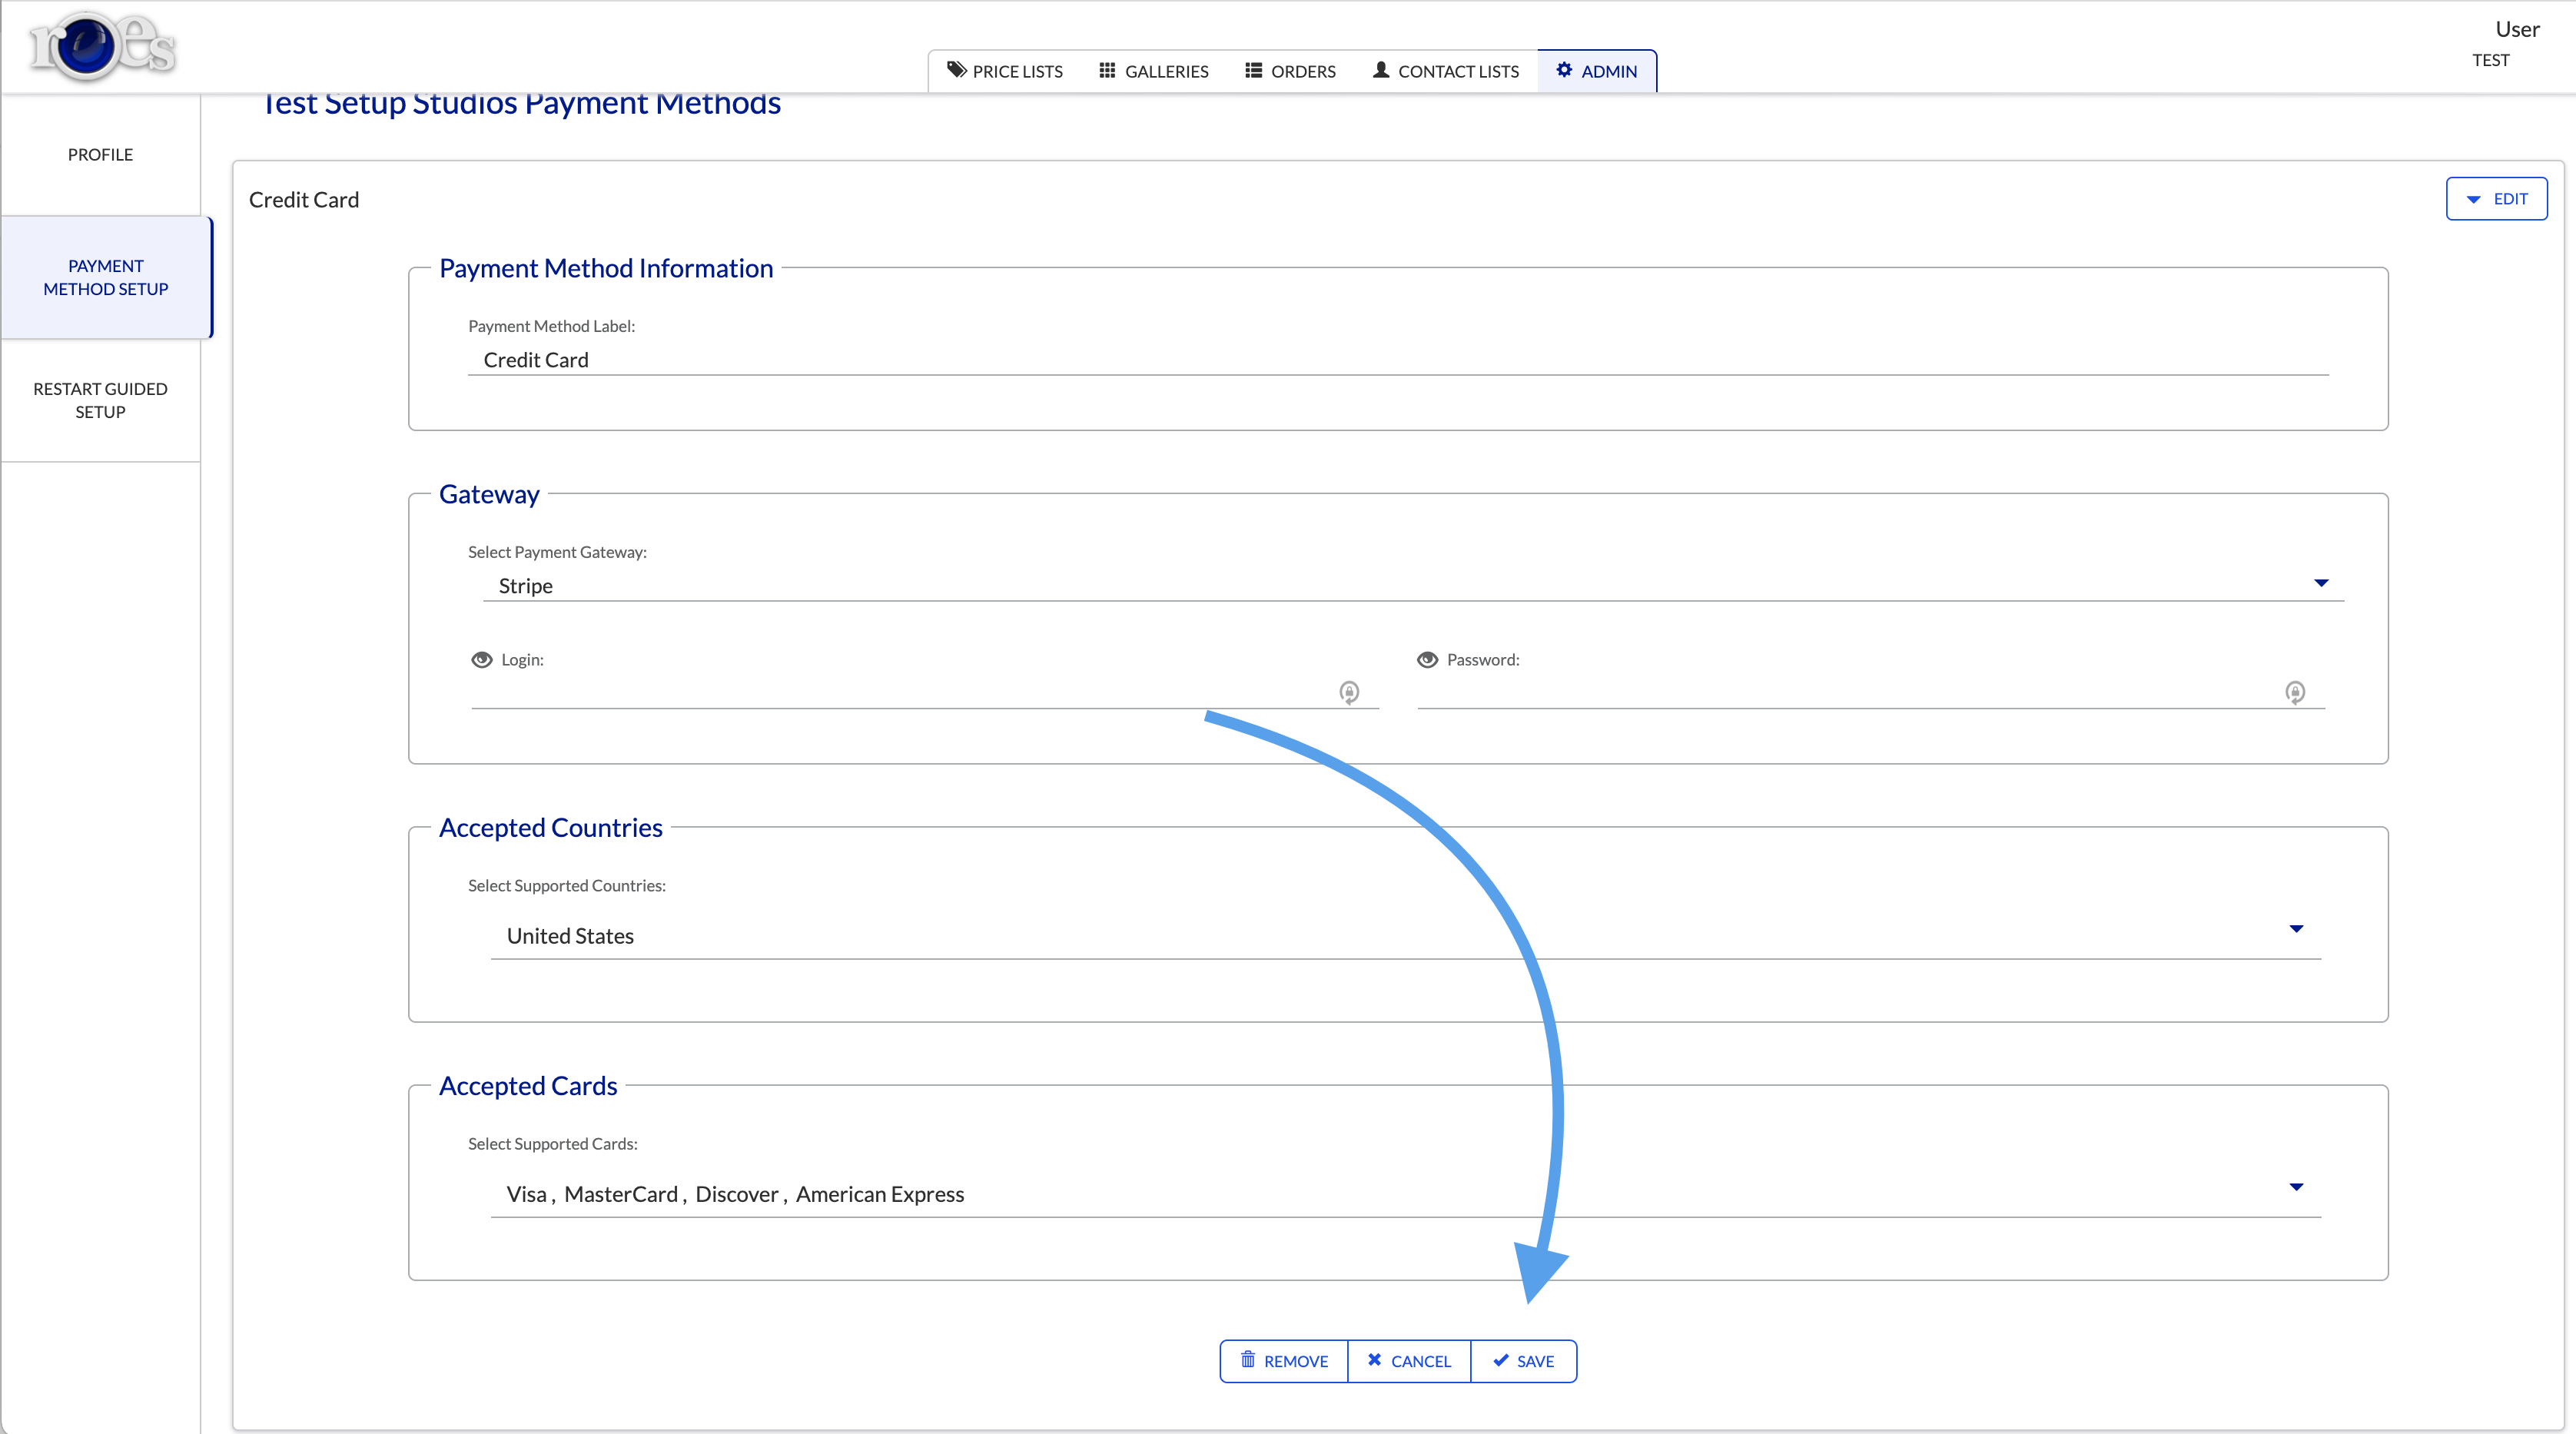
First, name your payment method. Keep in mind that your customers will see this name. You can name it “Credit Card” or something similar.
Then, select what payment gateway you will be using. You can choose between a variety of options including PayPal, Stripe, and much more. We recommend using Stripe, as the merchant fees are lower than PayPal for commercial payments. Feel free to use whatever payment gateway you feel comfortable with.
For more info about creating a stripe account, click here [LINK HERE]
After you select a payment gateway, you will need to connect to it. The connection method will vary between different gateways, but for most, it will be a username and password to that payment gateway account.
Then, select “United States” out of the “Accepted Countries” List.
After selecting your accepted countries, you must set your accepted cards. Check with your payment gateway to see what cards are accepted by them. Select any cards accepted by your payment gateway.
Make sure to save your changes by clicking the “Save” button near the bottom of the screen.
Now you are ready to receive payments! We recommend you read our next article, Create a Contact List.

